How to Size Your Off-Grid Solar Storage: A Practical Calculation Guide
Performing a Load Audit: Identifying Your Daily Energy Consumption
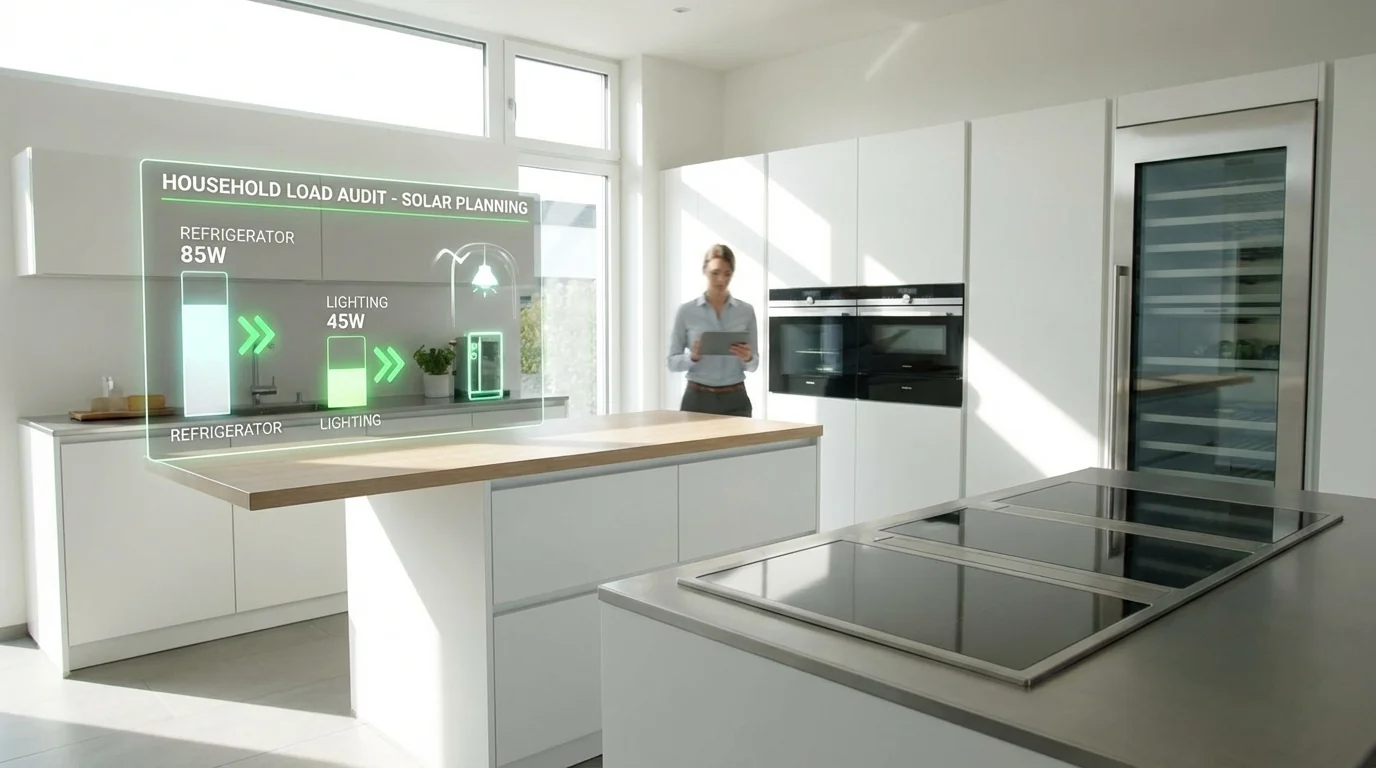
Before sizing a solar battery, you must quantify your daily energy consumption. While the average U.S. household consumes about 29.2 kWh daily, this number fluctuates significantly based on building type, heating systems, and occupancy. To determine your specific baseline, you must perform a load audit—a methodical process of identifying exactly how much electricity your household uses in a 24-hour period.
The most effective approach is the Inventory Method, which involves listing every appliance you intend to power and estimating its daily runtime. To find the daily kilowatt-hour (kWh) consumption for any device, use the following formula: (Wattage × Hours Used Per Day) ÷ 1000 = Daily kWh consumption. For example, a refrigerator drawing 150 watts and running for 24 hours consumes 3.6 kWh daily. If an appliance’s wattage is not stamped on the unit, you can estimate it by multiplying the ampere usage by the voltage (typically 120V for standard U.S. outlets or 240V for heavy appliances like 5,000-watt clothes dryers).
Your audit strategy should differ based on whether you want a whole-home backup or an emergency system. If sizing for emergency outages, you should focus strictly on critical loads, such as medical devices, refrigerators, and lighting. It is easy to accidentally overload a system; homeowners have been known to drain their batteries by powering non-essential subpanels, leaving no power for necessities.
For the highest level of accuracy, you must also account for “phantom loads”—the standby power drawn by electronics even when they are turned off. While individually small, these hidden drains can be significant over 24 hours. To capture these precisely, consider using an electricity usage monitor to measure the exact watt-hours consumed by plug-in devices over a full day. Summing these individual requirements provides the foundational metric for your battery capacity.
Calculating Watt-Hours for Specific Use Cases: From Essential Appliances to Cooling
To accurately size a solar battery, you must translate the wattage of specific household appliances into daily watt-hours (Wh). However, calculating energy requirements is rarely as simple as adding up the labels on your devices; different appliance categories present unique challenges to your battery capacity and inverter performance.
Low-Draw Essentials and Medical Devices
For emergency backup or off-grid living, low-draw devices form your baseline load. A single LED light draws a mere 5–10W, resulting in an estimated 40–80 Wh per day. Medical equipment is also highly efficient; a standard CPAP machine requires only 30-60W of running power, meaning it can run for a full night on a relatively small battery. Even constant connectivity loads like a Starlink internet dish consume a manageable 50–75W, totaling 600–1,500 Wh daily.
Cycling Appliances: Refrigeration
Refrigerators and HVAC systems present a calculation hurdle because they do not draw power continuously. To avoid overestimating your needs, you must account for the appliance's duty cycle. For a standard refrigerator, the Department of Energy recommends dividing the total time the unit is plugged in by three to estimate actual running hours. For example, a fridge drawing 300W typically runs for 8 hours daily, consuming 2,400 Wh. In contrast, high-efficiency 12V fridges for mobile or off-grid setups are optimized to consume only 600–1,200 Wh per day.
High-Draw Heating, Cooling, and Motor Surges
The most significant risk to your system comes from high-draw thermal appliances and motor-driven surges. Electric space heaters, often labeled as "battery killers," draw 1,500W continuously and can consume 1,000–5,000+ Wh daily.
Furthermore, appliances with compressors—like well pumps, sump pumps, or air conditioners—require a massive "kick" of energy to start, known as Locked Rotor Amps (LRA). A 3/4 HP sump pump runs at 1,200W but spikes to 2,500-4,500W at startup, while a 2-ton central AC unit can create a 15,000W surge. To handle these spikes without tripping your system, your inverter and battery bank must be sized to handle starting kVA that is 4–8 times the running current, or you must install a soft-starter to reduce the LRA spike by 30–60%.

Planning for Autonomy: How Many Days of Backup Do You Really Need?
To build a resilient solar storage system, you must determine your required "days of autonomy"—defined as the number of days that the battery can supply the site’s loads without any support from generation sources. Historically, industry guidelines recommended 5 days of autonomy to ensure reliability during prolonged cloudy periods and to protect battery health. Today, however, the exact metric depends heavily on your chosen battery chemistry and the balance between storage and generation.
Your battery chemistry dictates your required days of autonomy because it governs how deeply you can discharge the system without causing damage. Because lead-acid batteries suffer a drastically decreased lifespan when deeply discharged, they are generally sized for three or more days. The data justifies this caution: a lead-acid system with only 1 day of autonomy requires a 70% daily depth of discharge, yielding approximately 2,300 cycles. By increasing capacity to 3 days of autonomy, the daily discharge drops to 23.3%, extending the battery's life to over 5,800 cycles. Conversely, modern lithium-ion batteries allow a usable energy range of 80% to 100%, meaning two days is the minimum for lithium battery systems.
Furthermore, it is often more economical to "oversize" your solar array rather than your battery bank. Because the price of photovoltaic solar modules has dropped greatly in recent years, installing extra panels allows a system to generate enough trickle power even on overcast days to support the battery. This means fewer days of autonomy should theoretically be required when generation capacity is high. For homeowners designing grid-tied hybrid setups rather than fully off-grid systems, massive storage banks are rarely necessary; research indicates that pairing a well-sized solar array with just 12 hours of energy storage can meet 83–94% of electricity demand.
Choosing the Right Battery Chemistry: Why LiFePO4 is the Modern Standard
Selecting the right battery chemistry for your solar storage system requires balancing upfront costs, safety, and long-term performance. While lead-acid batteries were historically the default, lithium-ion technologies have rapidly taken over the stationary storage sector. Specifically, Lithium Iron Phosphate (LiFePO4) has emerged as the industry standard, capturing nearly 60% of new installations in 2022.
Efficiency and Usable Capacity
The shift toward LiFePO4 is heavily driven by round-trip efficiency (RTE) and usable capacity. Traditional lead-acid batteries typically offer an RTE of 75% to 85%, meaning up to a quarter of your generated solar energy is lost as heat during the charge and discharge cycle. Furthermore, lead-acid batteries are generally limited to a 50% depth of discharge (DoD) to prevent premature degradation. In contrast, LiFePO4 batteries feature an RTE of 92% or higher and can be safely discharged to 100% of their capacity, drastically reducing the physical footprint required to store the same amount of usable energy.
Longevity and Total Cost of Ownership
When comparing lithium options, the debate often centers on LiFePO4 versus Nickel Manganese Cobalt (NMC). NMC batteries have a distinct advantage in energy density, storing 150 to 250 Wh/kg, making them ideal for electric vehicles. However, LiFePO4—though bulkier at 90 to 120 Wh/kg—is far superior for stationary longevity.
NMC batteries typically offer a cycle life of 1,000 to 3,000 cycles, whereas LiFePO4 delivers 3,000 to 7,000 charge-discharge cycles. Economically, while LiFePO4 batteries carry a 10-15% premium in initial capital expenditure over NMC, their extended service life results in a total cost of ownership that is approximately 20% lower over a 10-year operational period.
Superior Thermal Stability
Safety metrics solidify LiFePO4's position for residential use. Its rigid olivine crystal structure features strong covalent bonds that resist breaking down under stress. Consequently, while NMC cells have a critical self-heating threshold of 170–190°C, LiFePO4 cells do not reach this threshold until 230–260°C. If a thermal event does occur, NMC cells release 20–25 kJ/Ah of energy, whereas LiFePO4 cells release only 10–15 kJ/Ah, making them the most rational and responsible choice for home installations.
Practical Next Steps
Once you have calculated your required battery capacity, the next phase is validating your design through digital simulation before purchasing hardware. Even the most meticulous load audit should be stress-tested against real-world variables using the System Advisor Model (SAM), a techno-economic tool developed by the National Renewable Energy Laboratory. By inputting your data into the latest SAM 2025.4.16 software, you can model behind-the-meter storage applications and utilize detailed voltage and temperature models to predict exactly how operating conditions affect battery degradation over time. This ensures your calculated capacity will actually survive the thermal and operational realities of your installation site.
Beyond the math, your system must navigate the "regulatory triangle" of UL 9540, NFPA 855, and the local Authority Having Jurisdiction (AHJ). To avoid permitting rejections and "red-tagged" projects, ensure your chosen entire energy storage system is listed as a single unit under UL 9540. It is a common misconception that buying a UL-listed battery and a separate UL-listed inverter is sufficient; modern safety standards require the integrated unit to be certified together.
Finally, physically map your installation space to account for fire safety codes. If your capacity requirements lead to a lithium-ion system exceeding the 20 kWh threshold, NFPA 855 mandates a minimum separation distance of 3 feet between battery groups and walls. If your designated utility room cannot accommodate these clearances, you must proactively secure the system's UL 9540A test report. Presenting this thermal runaway fire propagation data to your AHJ is the standard method to justify reduced spacing safely and legally. Be aware that the 2026 NFPA 855 updates now make a Hazard Mitigation Analysis (HMA) mandatory for almost all installations, removing previous size-based exemptions and requiring a proactive approach to risk evaluation before the hardware arrives.

Ray Harlan
Ray Harlan is a seasoned American solar energy expert and Farseen's lead advocate for practical off-grid living. Born and raised in sunny California, with 14 years of hands-on experience in rooftop solar, microgrids, and real-world deployments across the U.S. and beyond, Ray has lived through everything from Texas blackouts and Florida hurricanes to Southeast Asian night markets and remote camping trips. He's not just theorizing-he has tested low-cost lighting and fan systems for street vendors, built emergency food preservation setups during multi-day power outages, and fine-tuned solar solutions for hot nights, kitchen ventilation, and disaster readiness. His mission is simple: turn sunlight into reliable, everyday power for families, small businesses, and outdoor enthusiasts. Every article he writes draws from field-tested insights, honest cost breakdowns, and straightforward step-by-step advice so you can confidently harness solar energy in your own life.