Maximizing Solar Attic Fan Efficiency: Professional Placement vs. DIY Installation
Strategic Positioning: Optimizing South-Facing Exposure and Airflow Performance
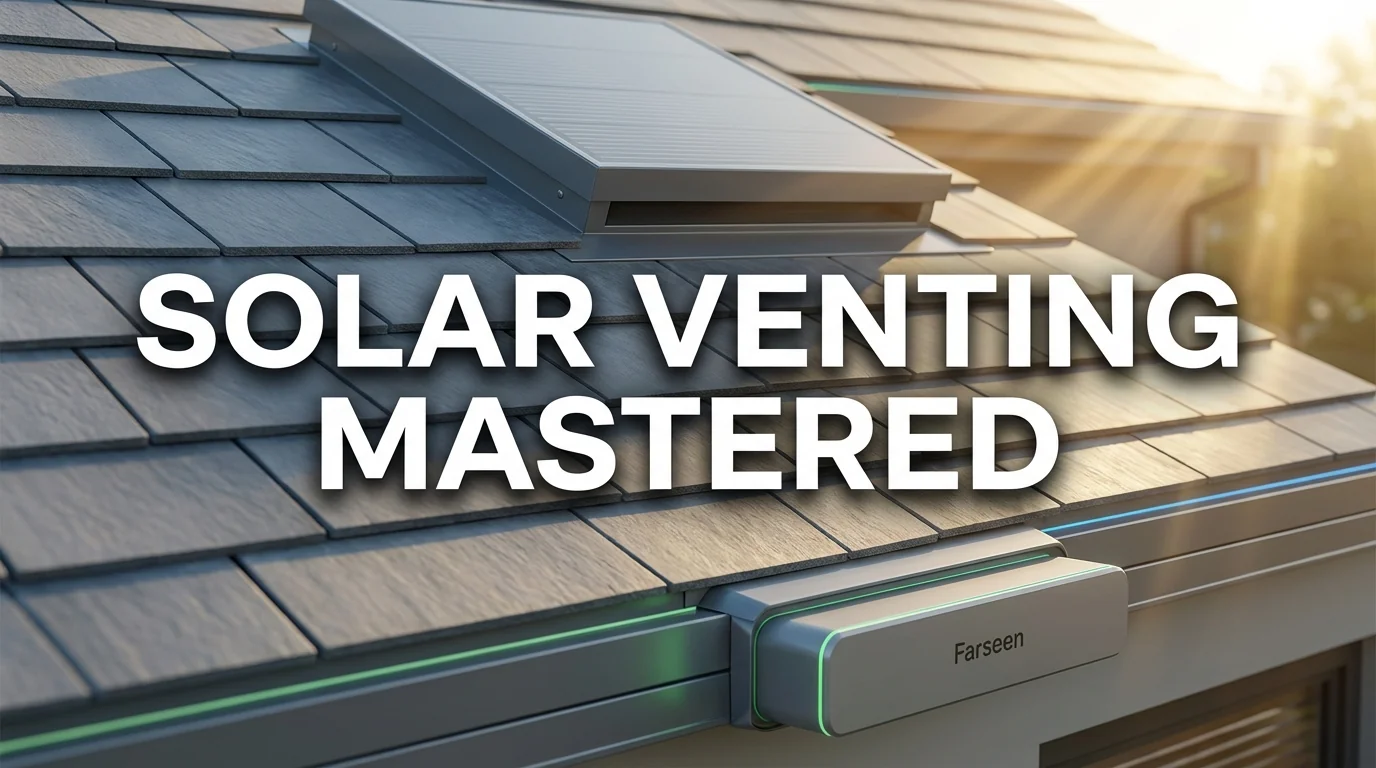
To achieve maximum efficiency from a solar attic fan, precise positioning is required for both energy collection and mechanical airflow. In the Northern Hemisphere, facing the solar panel true south (180° azimuth) establishes a 100% baseline for efficiency. Deviating from this optimal orientation can be costly; incorrect alignment often results in an annual production loss of approximately 20%. Ideally, the tilt of the panel should match the latitude of the installation site to capture direct rays as they move throughout the year.
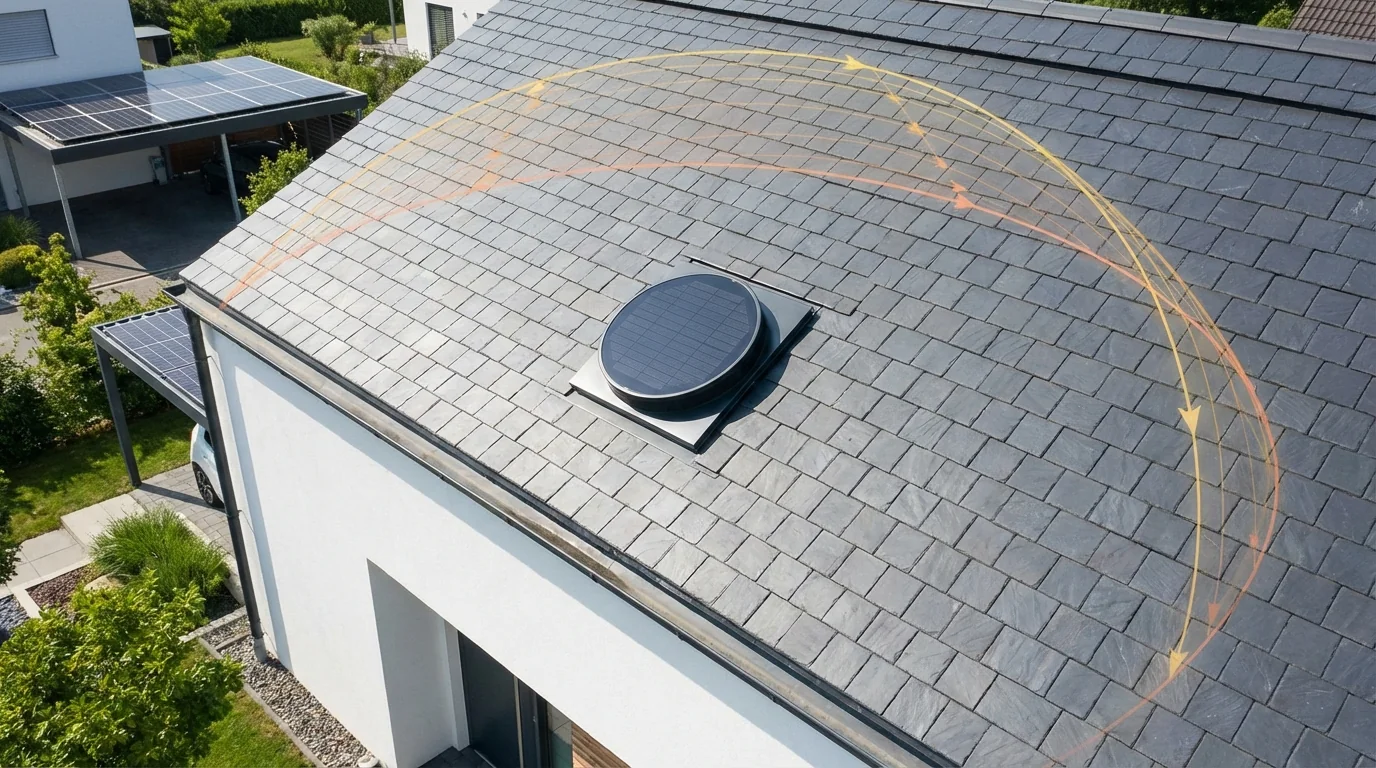
If the roof layout prevents a southern installation, an east-west system is a viable compromise, though it reduces total annual yield by approximately 10-15%. To mitigate these architectural constraints, some modern units feature adjustable solar panels that can be tilted or swiveled toward the sun’s optimal path independently of the roof’s primary pitch.
Strategic placement also dictates the fan's mechanical effectiveness. The entire ventilation system must adhere to the 1:300 ratio, requiring one square foot of Net Free Vent Area (NFVA) for every 300 square feet of attic floor space. Crucially, installers must avoid "short-circuiting" the system. Short circuits occur when air is diverted from its intended path, which typically happens when a solar fan is mixed with other exhaust types like ridge or gable vents. To prevent this, you must remove or block off all other exhaust vents and strictly follow the 50/50 rule: balancing exhaust capacity equally with low-level intake (soffit vents).
If exhaust exceeds intake, the fan may pull conditioned air from the living space, negating any energy savings. However, when properly balanced, solar attic fans can lower attic temperatures by 20 to 50°F. This reduction in thermal load translates to cooling cost savings of 30% to 40% in hot climates, provided the fan is allowed to draw cool air from the soffits rather than pulling from a nearby exhaust vent.
Moisture Control and Ventilation: Preventing Ice Dams and Condensation
While summer thermal reduction is the primary driver for solar attic fan installation, winter moisture control is equally critical for structural longevity. A common misconception is that cold weather naturally protects the roof; in reality, poor ventilation during the winter leads to moisture buildup, mold growth, and ice dams. Data indicates that poor attic ventilation creates moisture accumulation in attic materials, ultimately resulting in severe durability and mold-related problems.
The mechanics of ice damming rely heavily on temperature differentials. When trapped warm air in the attic melts roof snow, the runoff flows to the colder eaves and refreezes into a solid blockage. This forces subsequent runoff to seep beneath the shingles, leading to extensive water damage. Surprisingly, a major blizzard is not required; ice dams can form with as little as one inch of snowfall.
To effectively mitigate this risk, the attic's internal temperature must be brought into equilibrium with the outdoor environment. Research indicates that to prevent ice dams, all the air inside the attic must be circulated out at least 6 to 10 times per hour. Passive vents—which rely solely on natural air pressure differences—frequently lack the mechanical power to achieve this high rate of exchange. A solar attic fan provides the necessary active thrust to meet this requirement, pushing out built-up hot air and expelling humid air before it can condense on cold roof decking.
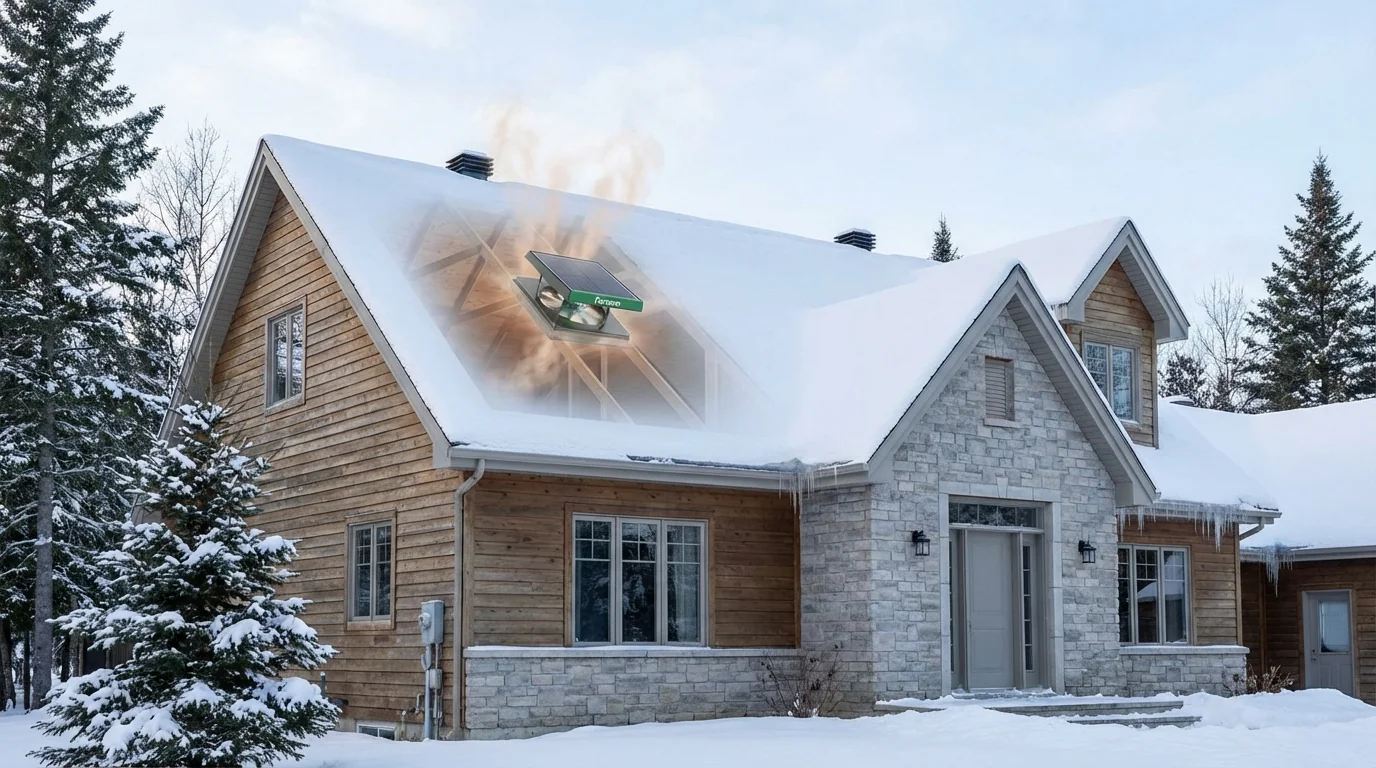
However, as with summer operation, this active ventilation must be carefully managed. While a solar fan excels at preventing moisture accumulation in attic materials that causes durability and mold-related problems, it must be properly balanced with intake vents to ensure it doesn't draw heated, conditioned air directly from the living space during the winter months. Proper balancing ensures the fan protects the roof deck without compromising the home’s thermal envelope or increasing heating costs.
The Weather-Tight Seal: Avoiding Costly Roof Leaks During Installation
Penetrating the roof deck to install a solar attic fan introduces a significant vulnerability to the home's building envelope. Improper installation practices, such as improper sealing of seams and fasteners or inadequate flashing installation, are the primary drivers of post-installation water intrusion. The financial stakes are high; data shows that roof vent leaks cause thousands of dollars in damage each year, and emergency repairs during storms often cost three times more than scheduled maintenance.
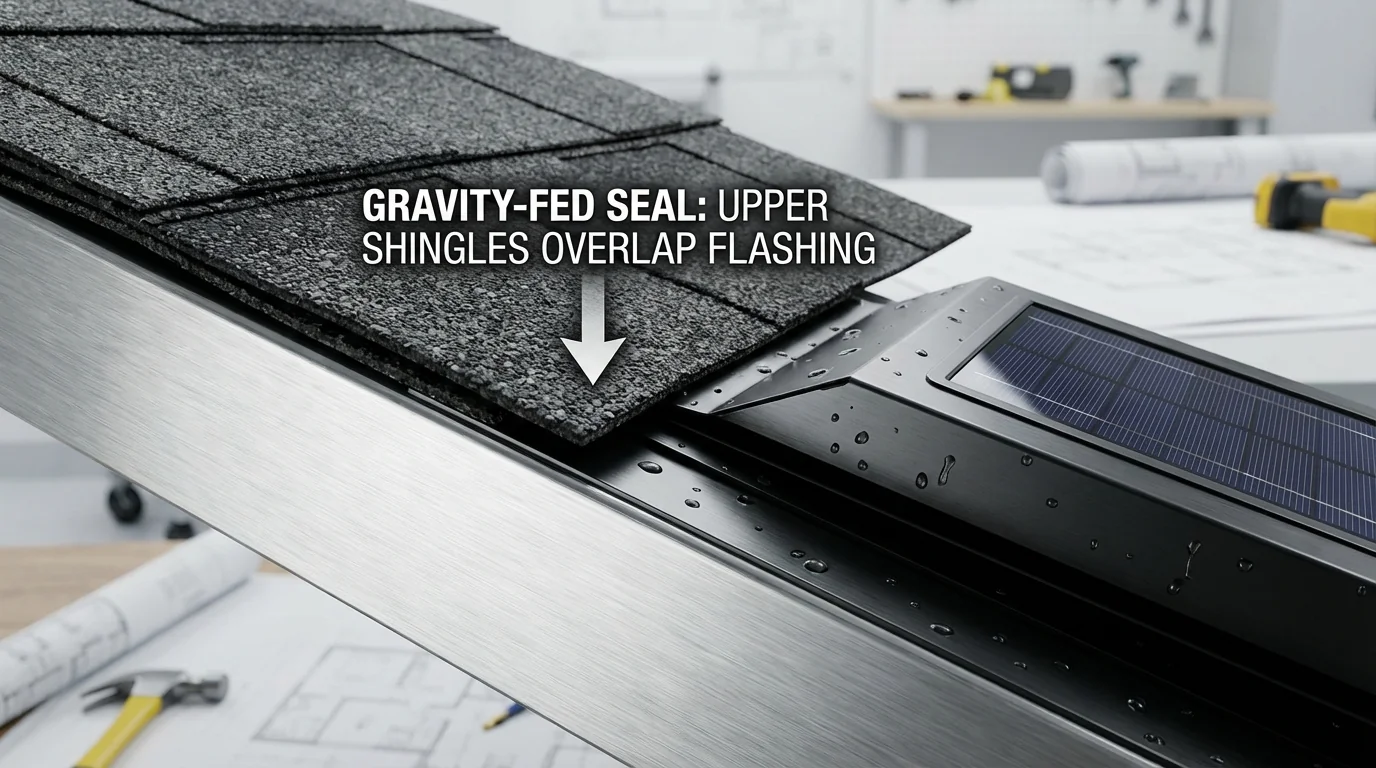
For standard composition shingle roofs—which are generally the easiest for DIY installation—achieving a watertight seal begins with precise geometry. This typically involves cutting a 20" diameter circle through the roof decking while carefully avoiding structural rafters. To properly integrate the fan's flashing, installers must make a 4-inch horizontal slit in the shingles at the 9 o’clock and 3 o’clock positions. This allows the unit's metal flashing to slide seamlessly underneath the upper shingles, utilizing gravity to direct water over the lower shingles. To prevent moisture from traveling down the threads of the mounting hardware, the unit must be secured using self-tapping screws with rubber bonded washers.
The longevity of this installation relies heavily on the quality of the materials used. Budget sealants may fail within a year, while premium products can last five to seven years. Even when using high-grade materials, sealants around vents break down from UV exposure and temperature cycles, meaning the seal requires periodic inspection regardless of who performs the installation.
The risk profile shifts dramatically when dealing with specialized roofing materials. Tile roofs are more challenging due to the need for tile removal and curb construction, requiring a flexible membrane to seal the gap between the tiles and the fan neck. Similarly, metal roofs require professional flashing around the curb to prevent leaks and ensure stability, using special fasteners to prevent corrosion. Because improper repairs often cost more than initial professional service, hiring an expert for these complex roof types is often the most cost-effective way to prevent long-term structural damage.
Expanding Your System: Integrating Energy Storage for 24/7 Attic Cooling
Standard solar attic fans operate exclusively during daylight hours, but thermal dynamics dictate that attics retain significant heat long after sunset. Radiant heat absorbed by roofing materials continues to bake the attic space into the evening, often sustaining temperatures of up to 150ºF. By integrating a 24/7 cooling solution, homeowners can lower these nighttime temperatures by up to 40ºF, which directly reduces the thermal load on the living space and can help save up to 30% off A/C costs.
To achieve continuous operation entirely off-grid, a battery backup system must be integrated into the fan's circuitry. This setup typically requires a 30 or 40-watt solar panel to generate sufficient surplus energy during the day to charge a 12-volt lithium-ion battery. To maintain system longevity and safety, a solar charge controller is a mandatory component; it serves as the brain of the operation, protecting the battery from overcharging during peak sunlight or over-draining overnight. Beyond daily cooling, this configuration provides a reliable emergency AC backup if the primary HVAC system fails during a grid outage.
For homeowners who prefer to avoid the complexities of battery maintenance, hybrid systems offer a highly efficient alternative. These units utilize an AC/DC power adapter that allows the fan to run on free solar energy during the day and automatically switch to traditional electricity at night. While this sacrifices total off-grid independence, it eliminates the risk of battery component failure and ensures reliable nighttime "supercooling" using the cooler outdoor air.
Regardless of the power source, continuous ventilation must be weighed against local climate conditions. While active nighttime fans are effective, research indicates that standard passive ventilation naturally yields 0.5 to 1.5 air changes per hour. In high-humidity environments, mechanically forcing air exchange at night could inadvertently introduce moisture-laden air into the attic. Utilizing an adjustable thermostat (50ºF to 120ºF) is essential to ensure the system only operates when thermal reduction outweighs humidity concerns, protecting the home's structural integrity while maximizing energy savings.
Key Takeaways
The decision to install a solar attic fan involves weighing upfront investment against long-term operational savings and balancing DIY appeal against the security of professional labor. Here are the critical takeaways to guide your project:
Financial Overview and ROI
A complete project for solar units typically runs $650–$1,200 installed. While the equipment is more expensive than electric models, solar eliminates ongoing electricity expenses, whereas electric fans add $15 to $40 annually to your utility bill. Homeowners can further offset costs by leveraging the 30% Federal Solar Tax Credit, which applies to both the unit and professional installation. When properly sized, these fans can reduce summer cooling costs by up to 30%, often paying for themselves within a few years.
DIY vs. Professional Installation
Because solar units operate independently of the grid, they require no electrical wiring, making them highly DIY-friendly for standard asphalt shingle roofs. If you are comfortable using a reciprocating saw to cut a 14-inch or 19-inch hole and navigating a roof pitch, DIY eliminates labor costs entirely. However, for steep pitches, tile, or metal roofs, hiring a professional for $200 to $400 is the safest route to ensure a weather-tight seal and prevent structural water damage.
System Efficiency and Maintenance
A fan cannot work in isolation. To prevent the unit from creating negative pressure that pulls conditioned air from your home, you must maintain 1 square foot of intake venting for every 300 square feet of attic space. Ensuring you have clear, continuous soffit vents for make-up air is critical for system performance. Additionally, integrating smart controls like thermostats and humidistats ensures the fan only runs when thermal or moisture thresholds are met, optimizing motor lifespan and protecting the home’s thermal envelope.
Safety Disclaimer
The installation guides and DIY tips provided here are for informational purposes. Working with electrical systems, batteries, and installing equipment at heights (like rooftops) carries inherent risks. Always follow local building codes and manufacturers' safety instructions. If you are unsure about any step, especially regarding wiring or structural modifications, we strongly recommend consulting a qualified professional electrician or installer.

Ray Harlan
Ray Harlan is a seasoned American solar energy expert and Farseen's lead advocate for practical off-grid living. Born and raised in sunny California, with 14 years of hands-on experience in rooftop solar, microgrids, and real-world deployments across the U.S. and beyond, Ray has lived through everything from Texas blackouts and Florida hurricanes to Southeast Asian night markets and remote camping trips. He's not just theorizing-he has tested low-cost lighting and fan systems for street vendors, built emergency food preservation setups during multi-day power outages, and fine-tuned solar solutions for hot nights, kitchen ventilation, and disaster readiness. His mission is simple: turn sunlight into reliable, everyday power for families, small businesses, and outdoor enthusiasts. Every article he writes draws from field-tested insights, honest cost breakdowns, and straightforward step-by-step advice so you can confidently harness solar energy in your own life.