To check a rechargeable fan charger, compare the adapter's output with the fan's specified charging input. The voltage printed on the battery is a different specification. Also check the connector, polarity, current requirement and any model-specific instructions. A plug that fits, or a larger wattage number, does not establish compatibility.
This becomes confusing when the battery, wall adapter and solar panel all carry different voltage labels. Those differences can be intentional. What matters is where each label sits in the power path and what equipment the manufacturer has approved for that connection.
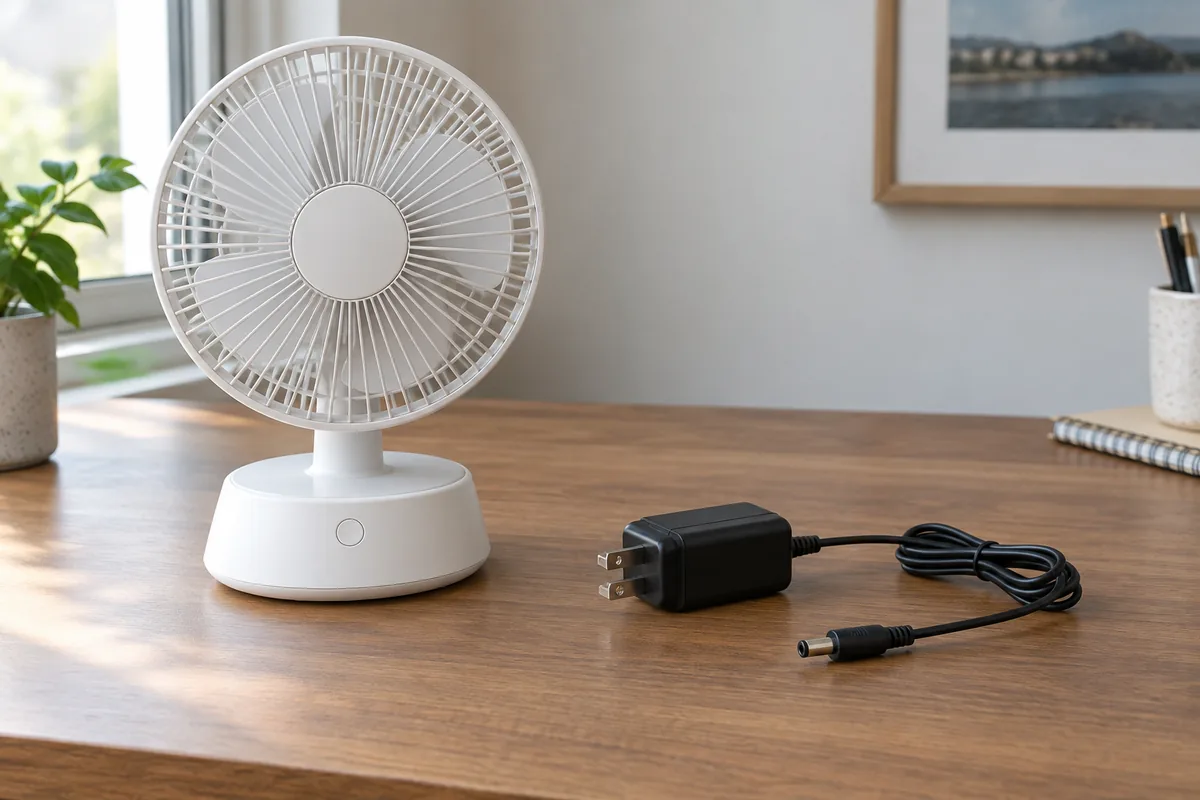
First identify which label you are reading
For a fan supplied with a mains adapter, the basic path is: wall socket → adapter → fan charging input → charging circuit → battery. A solar input is another supported power source where the fan's instructions allow it. The two sources are not interchangeable simply because both provide electricity.
| Label | What it describes | What to use it for |
|---|---|---|
| Adapter INPUT, often marked AC or VAC | The supply the adapter accepts from the wall | Checking the adapter against local mains requirements |
| Adapter OUTPUT, often marked DC or VDC | The adapter's specified electrical output | Comparing it with the fan's charging-input requirement |
| Fan INPUT, DC IN or charging-port specification | What the complete fan accepts at that port | Choosing the correct documented power source |
| Battery nominal voltage | A reference voltage for the battery or complete battery pack | Identifying the battery specification and interpreting its energy rating |
| Solar-panel label | The panel's specified electrical characteristics | Checking the panel against the supported solar-input configuration |
The word input therefore means different things on the adapter and on the fan. Keep a photograph of each whole label so the number stays attached to the right component.
MEAN WELL's adapter installation instructions similarly tell users to verify equipment voltage and current requirements and check DC-plug compatibility before connection. Its adapter specifications distinguish the AC input from the output supplied to the equipment.
Why can the battery and adapter voltages differ?
A battery's nominal voltage is a reference value, not a declaration that its voltage stays fixed or that an external supply with the same number is suitable for charging it. For example, Panasonic's industrial battery catalogue lists nominal voltage separately from the charging conditions used to specify its cells. Those are cell specifications, not charger recommendations for a finished fan.
Charging electronics control how power reaches the battery. Depending on the design, the allowable input voltage and the voltage used to charge the cells can differ. Texas Instruments' charger documentation illustrates this distinction by specifying an input range, battery-regulation settings and charge-current control separately. It explains a design principle; it does not identify the circuit inside your fan.
This is why selecting a replacement adapter by matching only the battery voltage can be wrong. Equally, a higher number on an original adapter is not, by itself, evidence of a fault. Check the complete fan's instructions. Do not connect an adapter directly to battery terminals to test a theory about the labels.
If your question is about energy capacity rather than charging, use the Wh versus mAh guide. Battery nominal voltage belongs in that comparison; the wall-input voltage does not.
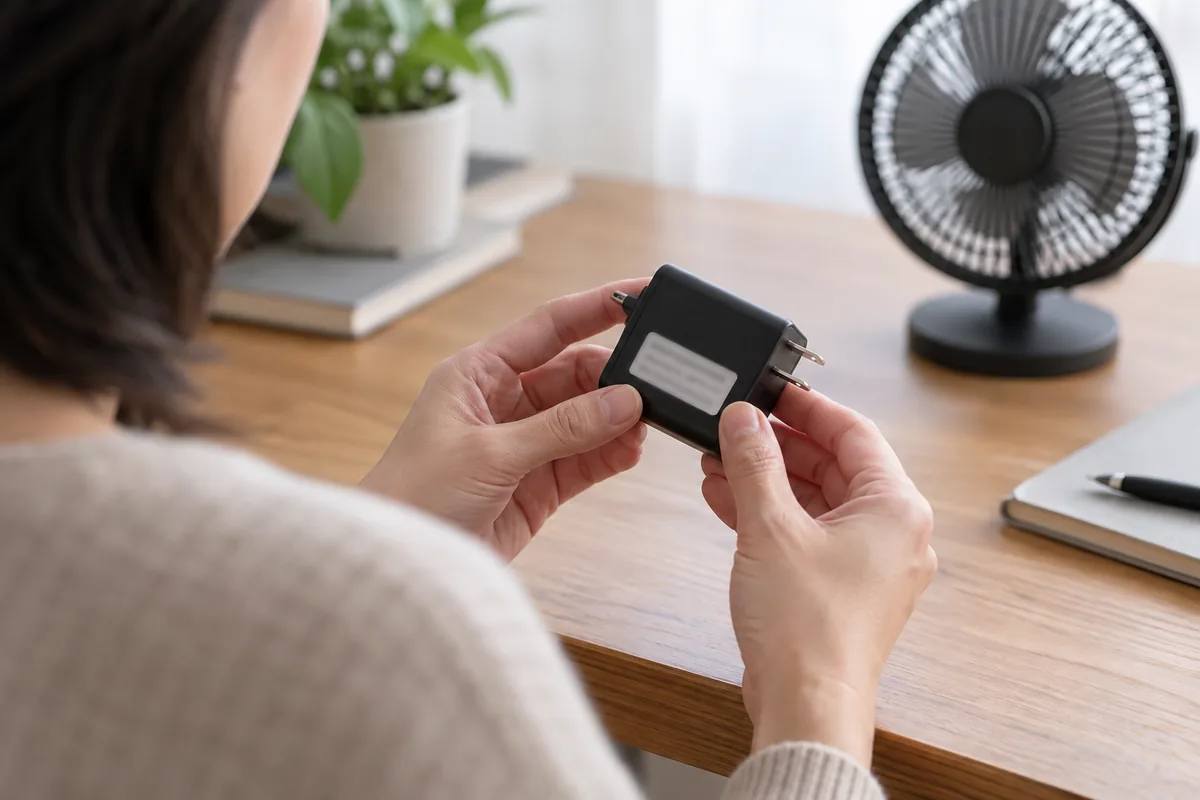
Check compatibility in this order
Start with the supplied adapter's model number and the fan's manual. When replacing a lost or failed adapter, the original part reference is often the clearest starting point for support.
- Identify the exact fan and charging port. Record the model, version if shown, and whether the port is marked for DC charging, solar charging or another purpose.
- Check the specified output voltage and supply type. Compare the proposed adapter with the fan's documented requirement, not with the battery label. A matching-looking AC output is not a substitute for a required DC output.
- Check current and power requirements. The adapter must meet the equipment's requirements within its own ratings. Do not choose a replacement from watts alone.
- Check the complete connector specification. Shape, dimensions, contact arrangement and DC polarity must match. With a barrel connector, a matching outer shape does not tell you which contact is positive.
- Check any required charging protocol or approved accessory reference. Especially on products using USB, connector shape alone does not describe every supported charging mode. For a fan with a specified DC input, a USB conversion cable is not automatically suitable.
- Confirm the replacement before connecting it. Send clear label and connector photographs to the supplier if the manual leaves any part unresolved. Do not force a plug or try several voltage settings until the fan starts.
This check is a way to collect the necessary information. It cannot certify an undocumented adapter-and-fan combination.
Does a higher-wattage charger charge the fan faster?
Not necessarily. The charger rating describes available output under its stated conditions; the fan's charging design also limits what reaches the battery. A higher advertised power rating cannot establish the right output voltage, connector or charging mode.
Once the correct equipment is confirmed, charging time still depends on starting charge and operating conditions. See how long a solar fan takes to recharge for a useful charging record. Support for running the fan while charging is a separate question and must also be confirmed for the model.
What if the power source is a solar panel?
Use the panel configuration specified for the fan. A panel's voltage and power label is not a universal adapter specification, and battery voltage alone does not establish which replacement panel is allowed.
If the original panel is missing or you want a different size, follow the solar-panel compatibility checklist. Avoid assuming that a larger panel, a matching plug or a panel supplied with another fan will work with yours.
The useful information to send for help
Send the fan model, photographs of the fan input label and original adapter label, clear connector photographs, and the proposed replacement's specification. Describe whether you are replacing an accessory or investigating a charging problem. These details are more useful than asking whether “a more powerful charger” will work.
Farseen's 198F, W01, S600 and T02 range lists DC-charger and solar charging. That identifies the supported charging methods; it does not establish third-party adapter compatibility, USB charging input or permission to operate while charging. For an existing unit or a bulk configuration, confirm the actual matched fan, adapter and panel before selecting a replacement.
Farseen Editorial Team
The Farseen Editorial Team publishes practical guides and company updates about solar rechargeable fans, off-grid appliances, and product sourcing. Where an article discusses product-specific details, refer to its cited sources or contact Farseen for current information.